How I Became A Skincare Addict
Breakouts? Dull, uneven skin? Craving that inner glow without makeup? Find out all the things you’ve been doing wrong and how to get started on this tried and tested routine that will regenerate your skin.
£247.98. That’s how much I’ve spent on skincare in the last 8 months. Adding that up made me cry, and realise how many of the products I tested need to just be thrown away. It’s a high cost but it’s what I’ve had to go through to know not only how to prevent spots from forming, but to give my skin the treatment it deserves. If I’ve lost you at the word ‘spots’ because you have sublime clear skin (no, not envious at all), keep reading because not only will this post tell you if you’re doing the right thing for your skin, but it will also give you tips on anti-aging and how to improve your skin to the core for that clear, gleaming, glowing look.
I am going to collate all my research and testing and explain what I discovered you should and shouldn’t do to your skin. This isn’t just to get rid of spots, it’s to keep your skin regenerating and looking healthy and young. However, it’s taken months for mine to clear up and show a significant difference, with a lot of trial and error in product selection, so you must be patient, but it’s worth it in the end.
Step 1. Cleanse
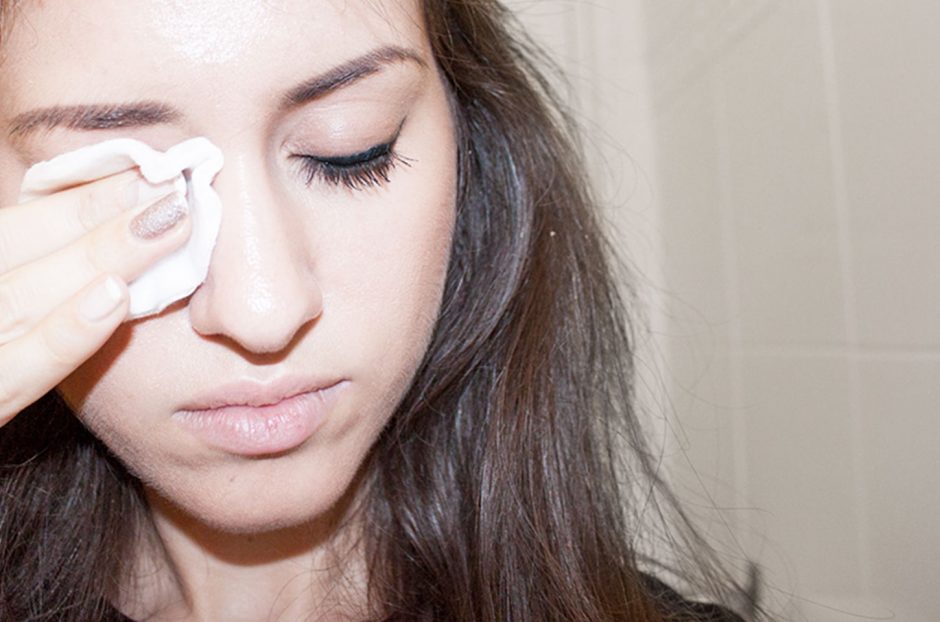
Removing makeup is more often than not my first step in cleansing. A dermatologist once told me that the face wipes that I’d been religiously using when removing makeup are the equivalent of sandpaper scraping your skin and simply moving dirt around your face. Naturally I was horrified so had to change my routine. Now I use micellar water to remove eye makeup, then clean the makeup from my face with a cleanser at the sink.
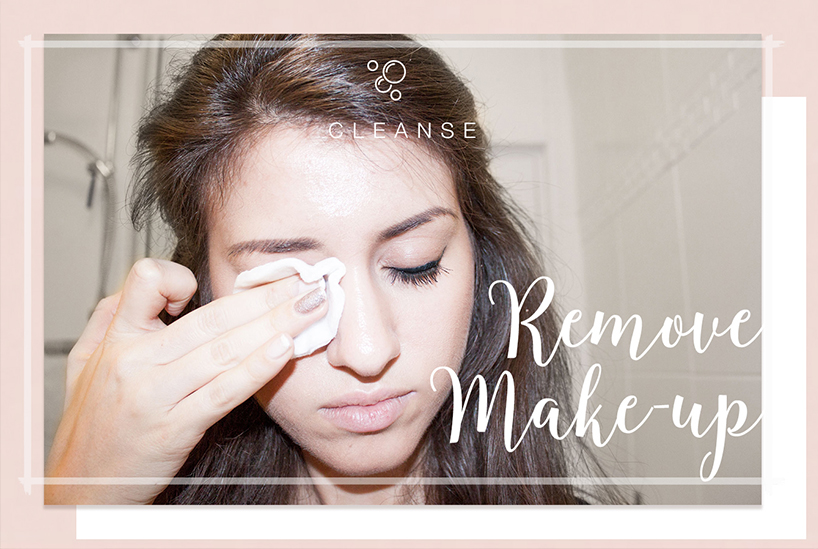
Using a washcloth I gently wipe my face with a cleanser and lukewarm water, never hot water (yes, that includes in the shower). Foaming cleansers are best for oily, spot prone skin, and non-foaming cleansers, which tend to be a little richer, are better for normal, dry or sensitive skin.
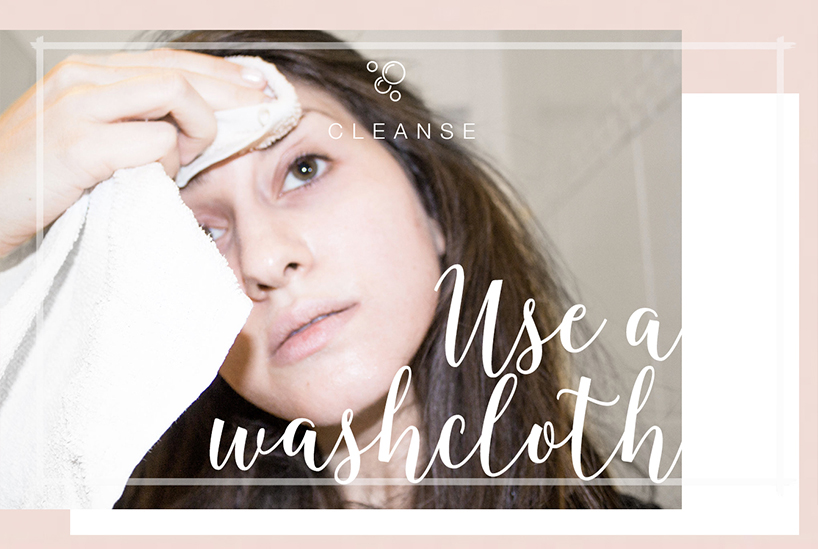
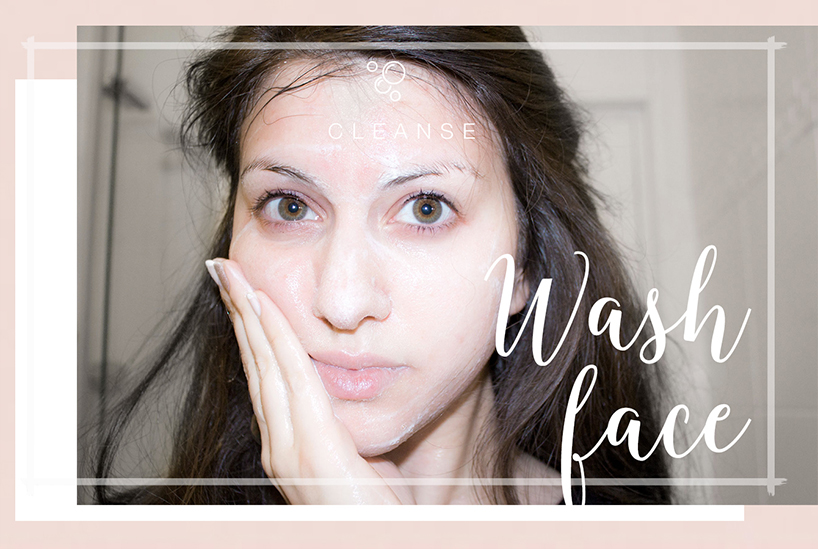
To avoid damaging your skin when cleansing, only use your cleanser in the evening to clean the dirt of the day away, then use water to rinse your face in the morning. However if you have particularly oily skin you might see better results if you use the cleanser twice a day. My cleanser of choice is anything in Neutrogena’s Visibly Clear range – the Spot Clearing Face Wash is what I use daily. Avoid any face wash that has alcohol in the ingredients as this can dry out your skin, and if your face feels tight after cleansing, your cleanser is too tough for your skin so you should find a milder one, like Cetaphil (available in Boots).
Step 2. Exfoliate
I’m going to be strict on this one and tell you to never, ever use St Ives Apricot Scrub or anything similar. Exfoliators that contain sand or granules are more sandpaper to your skin and will unevenly rip off the top layers of your skin, doing more damage than good, even though you get that squeaky clean feel. In fact the very popular Apricot Scrub I mentioned above is currently being sued for allegedly wrecking people’s skin. The company claim their product is dermatologically tested, even though it’s not recommended by dermatologists (read more here). Your skin doesn’t know how to heal evenly after scrubs like these, so you end up with more dirt in your pores, uneven skin tone and sore patches. As someone who is considerate to the environment in my routine I don’t use anything with microbeads in. There’s a lot of research saying how bad they are and so are banned in some countries. If you’re going to exfoliate, and I recommend you do, use a chemical exfoliant. Yes, it sounds scary, but trust me it’s much safer on your skin than scrubs.
There are two types of exfoliators. BHAs and AHAs. The most common BHA is Salicylic Acid, known to reduce spots and improve the skin tone. You’ll find it in a lot of products labelled as ‘spot treatment’ if you look at the ingredients. In fact, I simplify my routine by using a cleanser with salicylic acid in it. Just take a look at the before and afters from adding salicylic acid to a routine.
AHAs are a little harsher and encourage skin turnover, so it can make your skin feel very sensitive but it’s great for getting rid of dark spots and acne scarring, and after a few weeks of use it makes your skin glow. If you don’t have super spotty skin, use the AHA only 2-3 times a week. Unfortunately for a skincare addict they are surprisingly hard to find over the counter in the UK. Mine is currently Adapalene and so prescription only, but you can still get an AHA without having to go to your GP. The best AHAs I’ve been able to find in Boots is Nip + Fab Glycolic Fix Serum, or Superdrug’s Glycolic Overnight Peel.
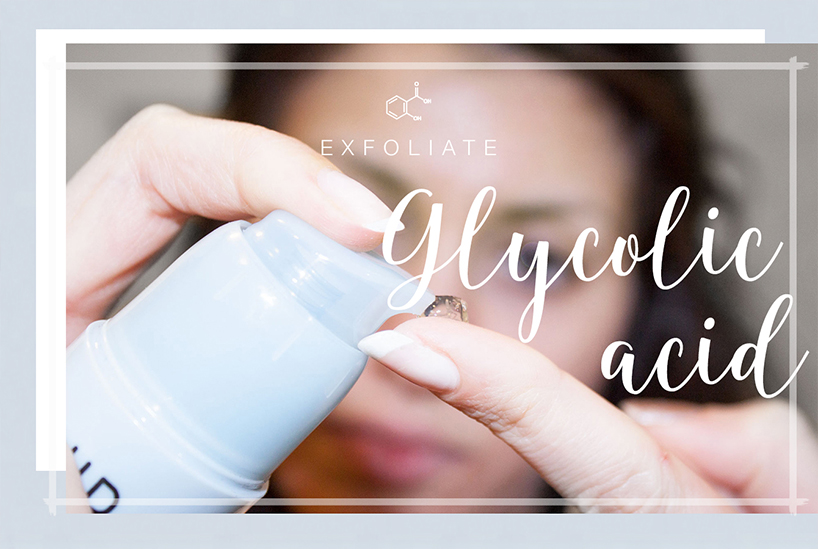
One thing to keep in mind about chemical exfoliants is that they can interfere with other skincare products and create sensitive skin, so always wait about 20 minutes before you move onto step 3.
Step 3. Moisturise
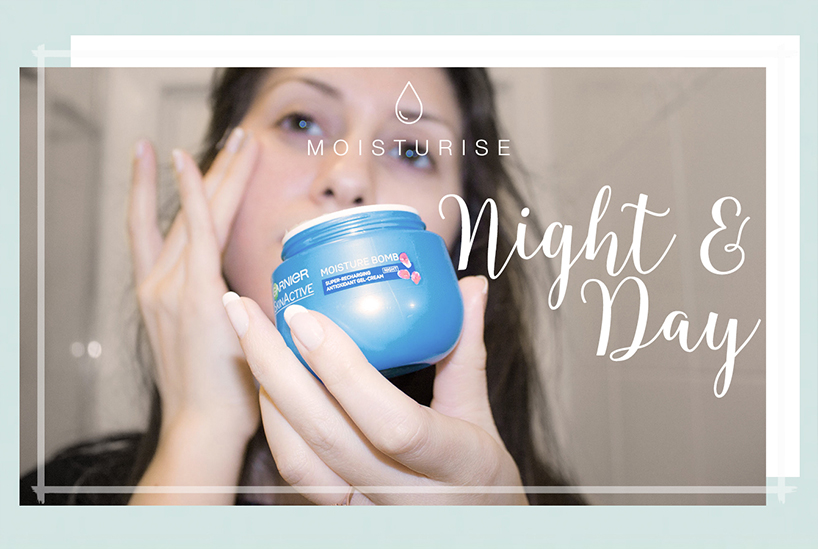
This is the tricky part and probably where I’ve spent the most money. Trying to find moisturisers with SPF higher than 15 is like trying to find Nemo! If I have a moisturiser that works for me I have had to add sunscreen beforehand, causing a great sheen on my face, a white cast or extra oil I really don’t need. My current cream is now Avene Hydrance Optimale Light with 20 SPF. So far so mattifyingly good. My evening moisturiser is currently Garnier’s Skin Active Moisture Bomb. It’s great at night as it’s quite rich and hydrates my poor dried out skin, leading to it feeling amazing in the morning.
Step 4. Spot treat if necessary
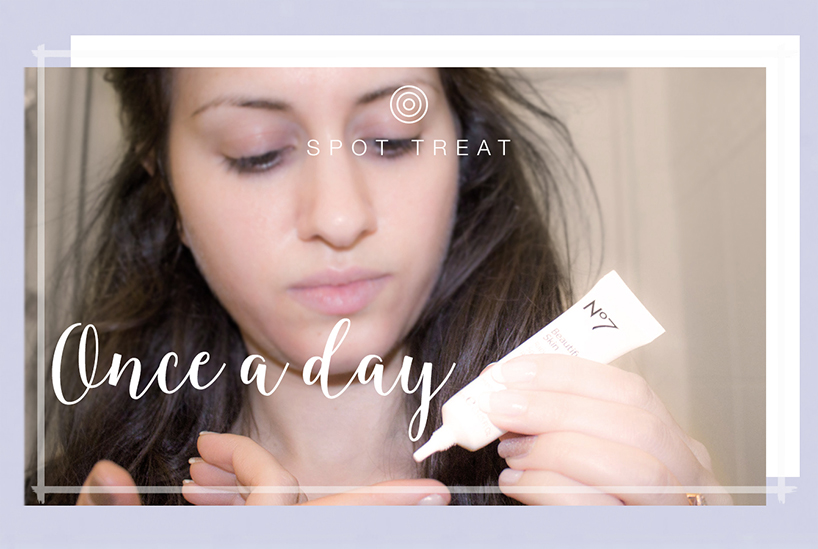
An effective spot treatment generally has antimicrobial/anti inflammatory properties. Benzoyl Peroxide cream or wash is a preferred choice but it can be irritating, so Sulfur ointment/cream is an alternative. Tea tree oil is a good natural spot treatment, but make sure you get the pure oil and dilute it to 5-10% to avoid a chemical burn. Typical over the counter spot treatment wands may help reduce redness, but they don’t tend to help for more severe spots. I’ll be doing a post on how I actually treat my spots, as well as how I found the underlying cause(s) so I could prevent them – stay tuned.
Step 5. Protect with sunscreen
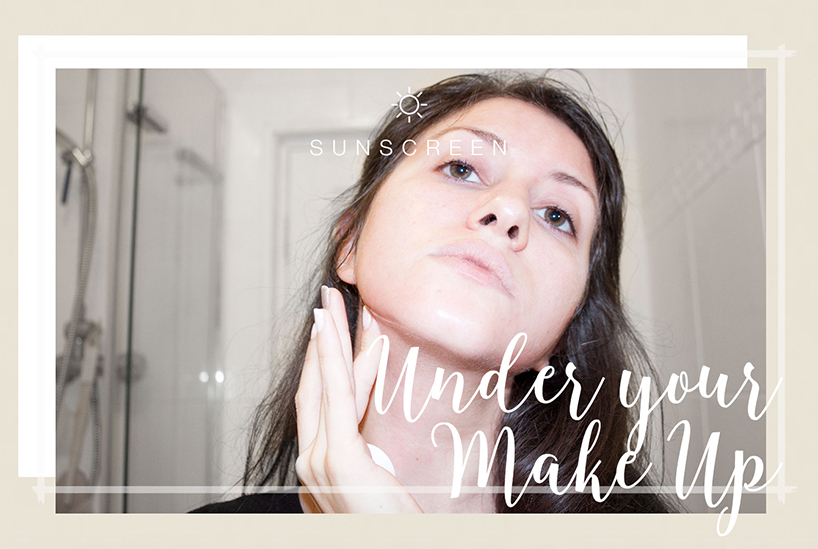
I find it an absolute crime that all moisturisers and all foundations aren’t required by law to include SPF as standard. Even high end skincare from Clarins and Clinique don’t have it in every product, including their anti aging ones. UVA (from the sun) and UVB (through the clouds) is light than damages your skin. If you’ve got a routine like the above, especially with a chemical peel, protecting your skin is recommended. This is why I make sure my day moisturiser has at least SPF 20, and I use a foundation that’s SPF 17. The alternative is to use an ordinary sunscreen for the face after you moisturise, but then you’re at the risk of having a very white face, or white cast, changing the colour of your make-up.
And that’s the routine! Seems simple enough to repeat every day.
AM
Cleanse (with water)
Moisturise
Protect with sunscreen.
PM
Cleanse
Exfoliate
Moisturise
Spot Treat
Before you go and refine what’s in your cupboard, here are some key tips that you must remember before you even touch your face:
Tip 1. Know your skin type
Before you start a skin routine you need to know what skin you have. Check that here.
Tip 2. Patch test every product before you put it on your skin
And, most importantly, introduce one and only one new product a week. If you introduce more than this at once you won’t know what caused it and might do a lot of damage to your skin before you figure out which one it was.
Tip 3, and kind of a warning. Your skin may purge
If you’ve never done anything for your skin before, or if you have spots that are sitting under the surface, you may find that going through a routine makes your skin worse before it gets better. This has happened to a lot of people I know, and it’s horrible, but genuinely worth it to get rid of all those nasty things hiding beneath the surface. Sometimes it’s difficult to know if you are purging or causing the spots. If you suddenly get new spots in new areas you’re clogging up your pores with your product. Stop it immediately.
Tip 4. Keep your hands off!
Stop touching your face with dirty paws or eating with your fingers then resting your chin in your hands. And stop picking! I consciously stopped touching and picking at my face for a week without washed hands and ended up with much clearer skin near instantly.
Tip 5. Get off Pinterest
Do not put lemon juice on your face, do not use salt to scrub your face, do not use toothpaste, cinnamon, or anything else you can find in your pantry. It’s rubbish, will dry out and age your skin, and means nothing compared to having a routine and proper skincare products. I recently saw an article suggesting using lemon juice, honey and baking soda to make a mask. Shocking! Honey is probably the only thing they’ve got right because of the calming antiseptic effect, but even so, who wants a sticky face?
If you have any skin concerns or questions, or need any help with working out your routine, I’ve tried so many products by now I feel like an expert as well as an addict. Email me: firuze@toworkorplay.com
Shop the post:
Neutrogena®: Visibly Clear Spot Clearing Facial Wash
Cetaphil: Gentle Skin Cleanser
Nip + Fab: Glycolic Fix Serum
Superdrug: Naturally Radiant Glycolic Overnight Peel
Eau Thermale: Avène Hydrance Optimale UV Light
Garnier: Moisture Bomb Night
————
Want the latest posts, offers and exclusive tickets straight to your inbox? Subscribe to our newsletter and never miss out again.
Images © To Work or Play unshaven girl займы без отказа займ 50000 онлайн на годкруглосуточный займ денегпроцентный займ
